Have you ever printed an image and colours on the print didn’t match the image that you saw on your screen. Your print may have included inaccurate colors or incorrect tones, this is you missed one step – soft proofing.
Soft proofing images before printing them means you won’t end up with prints that turn out different from how you expect them to look.
What is soft proofing in Lightroom?
Soft proofing is the process of previewing an image prior to printing – in order to get a better idea of what that image might look like when actually printed. Soft proofing gives you the opportunity to make changes before your image is printed and is the key to getting top-quality printed images.
Calibrate your monitor
Before you do any soft proofing at all, you need a calibrated display.
By calibrating your display, you ensure that the colors are accurate on your prints and they match the photographs you see on your computer monitor.
Printer Profile
An ICC printer profile is a file that describes how a printer and paper will interact.
A printer has to convert your image file into instructions for how to put ink on the paper, and each printer will do this slightly differently.
But ICC printer profiles give you a way to predict how the printer will turn your digital file into a physical print.
In fact, a good print lab will offer custom ICC printer profiles for you to download on your own computer. This lets you soft proof your digital photographs before sending them to be printed.
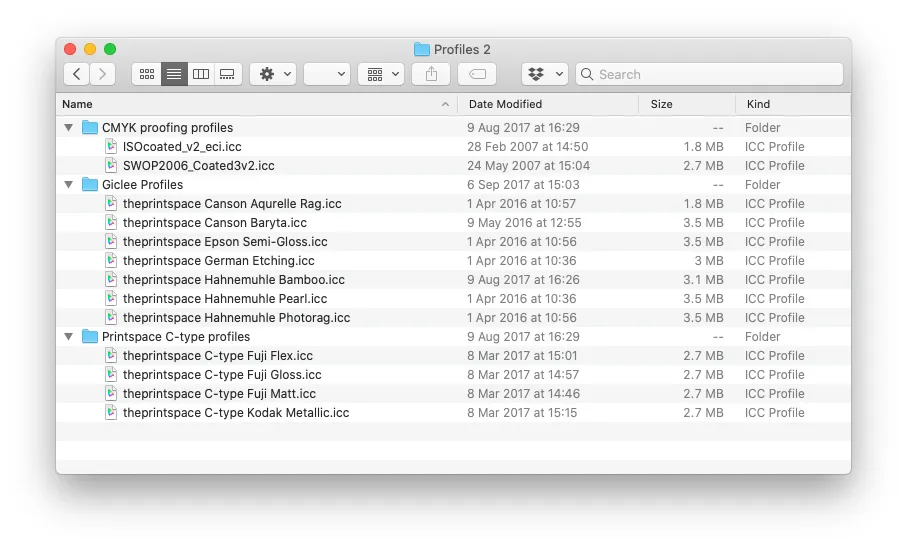
How to load printer profiles into Lightroom
Soft proofing begins with downloading printer profiles.
Once you have downloaded the necessary printer profiles for the paper you’ll be using. These are available on the relevant website of the paper you’re using. Now add them to your computer so that software such as Adobe Lightroom and Photoshop can find them.
Fortunately, this is very simple. You just move the files to the correct operating system folder as follows:
- Mac: Library/ColorSync/Profiles/
- Windows: Windows\system32\spool\drivers\color
Now the different profiles will be ready for use when you start soft proofing in Lightroom.
How to soft proof in Lightroom
Once you’ve finished your editing, head over to the Lightroom Develop module.
There, in the bottom left-hand corner of the main window, you’ll find an option labeled Soft Proofing. Tick that box.

Once you’ve activated the soft proofing option, you’ll find that your photograph moves onto a white background and some new options appear in the top right-hand corner of the screen.
If you click the Profile option in the new Soft Proofing panel, you’ll find a list of profiles to choose from. If your new ICC printer profiles haven’t yet appeared on the list, then select Other at the bottom of the dropdown menu.
A window will pop up, and you can select from the different ICC print profiles that are installed on your computer. Each option you pick will appear in Adobe Lightroom for soft proofing.
Once you’ve selected your profiles and closed the window, pick the profile you want to use and make sure the Simulate Paper & Ink box is checked.

Soft proofing copy
The challenge with soft proofing is that, as you can see below, the image won’t look the same as the original file once you’ve applied the soft proofing ICC print profile.
Click on the button labeled Create Proof Copy
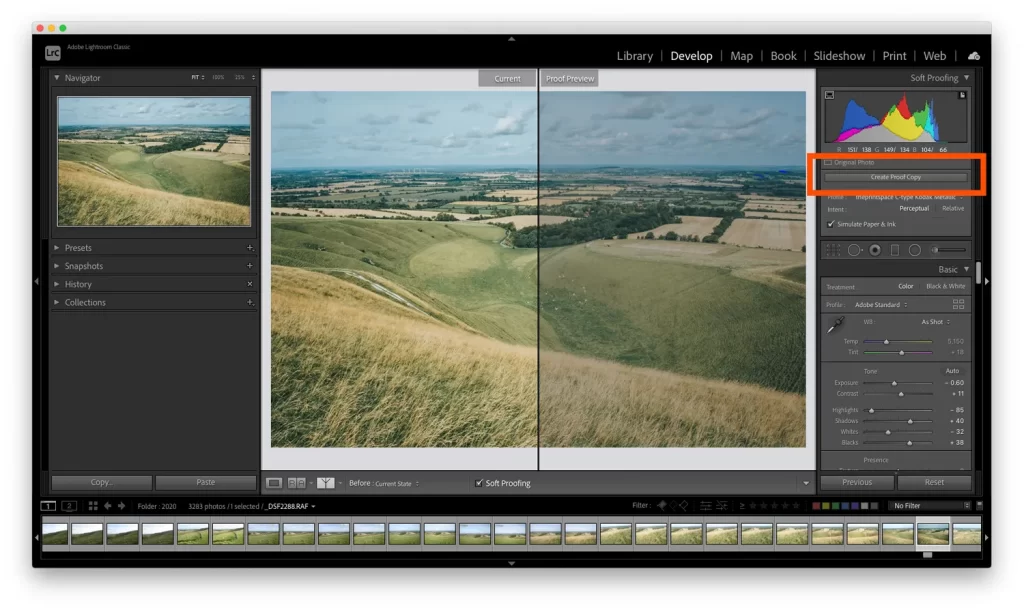
This will create a duplicate image with your print profile embedded so you can make adjustments for printing. By creating a proof copy first, Lightroom will leave your finished image unchanged – even as you make adjustments to your file for printing.
You see, on this new copy of the image, you can make adjustments while still in soft proofing mode. That way, you can ensure that what gets printed is exactly what you intended. So simply make adjustments to the proof preview using the Lightroom sliders until you like the result!
Now you’re ready to print 🖨 ❤️
Contents of this article are from Digital Photography School.